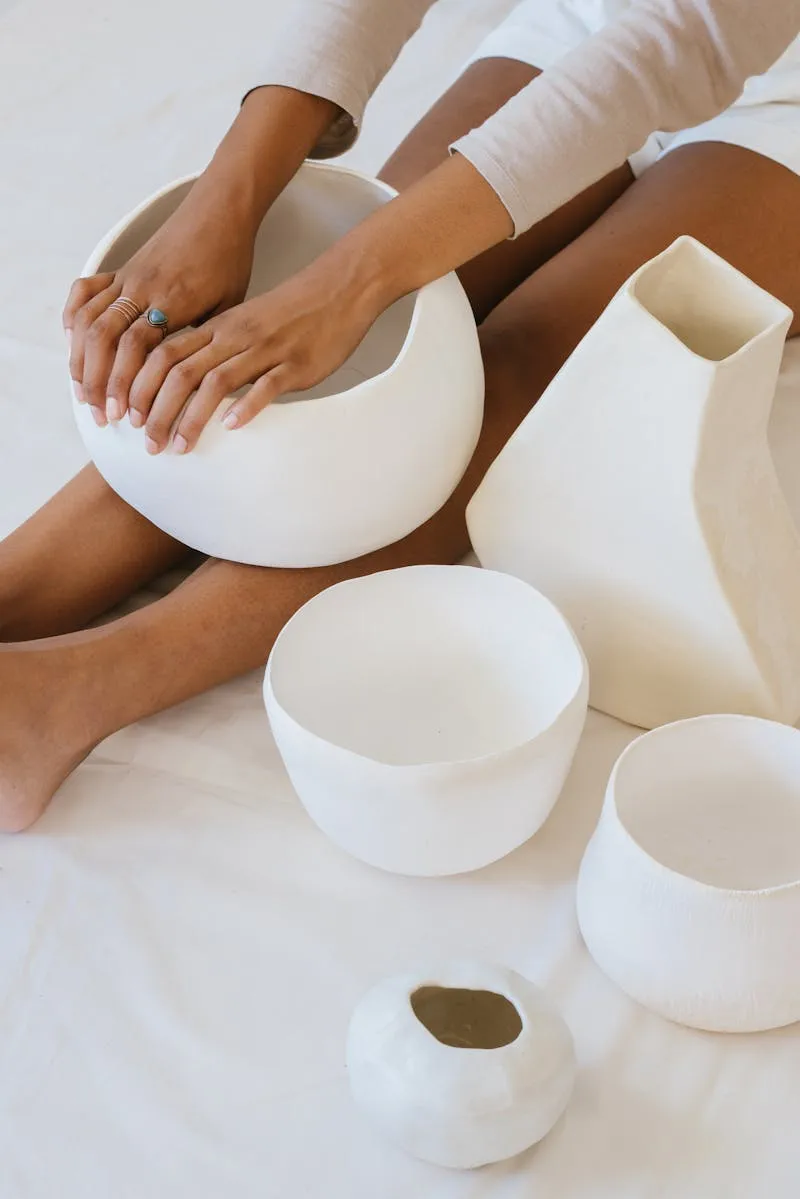
There’s a crack running through your favorite mug. In most cultures, this is the end of the story — the mug goes in the trash, replaced by something new and whole. But in Japan, this crack is an opportunity. Kintsugi (金継ぎ), the art of golden joinery, repairs broken ceramics with lacquer mixed with powdered gold, silver, or platinum, transforming the break lines into luminous veins that celebrate the object’s history rather than hiding it.
Kintsugi is more than a repair technique — it’s a philosophy rooted in wabi-sabi (侘寂), the Japanese aesthetic of finding beauty in imperfection and transience. A kintsugi-repaired bowl isn’t a broken bowl that’s been fixed. It’s a new object — more beautiful, more meaningful, and more valuable than the original. Every golden seam tells a story of fracture and renewal.
Living in Japan, we’ve studied kintsugi with traditional artisans and experimented with both authentic urushi lacquer kits and modern epoxy-based alternatives. This guide covers everything you need to know about kintsugi repair kits: the philosophy behind the practice, the different approaches available, our kit recommendations, and step-by-step guidance for your first repair.
Understanding Kintsugi: Philosophy and History
Origins
Kintsugi emerged in the 15th century during the Muromachi period, likely connected to the tea ceremony culture (chanoyu). Legend has it that the shogun Ashikaga Yoshimasa sent a damaged Chinese tea bowl back to China for repair. It returned with ugly metal staples holding the pieces together. Japanese craftsmen, inspired to find a more aesthetically pleasing solution, developed the technique of filling cracks with lacquer and gold powder.
The practice resonated deeply with the tea ceremony’s appreciation of rustic simplicity and the beauty of age. Tea masters began deliberately seeking out kintsugi-repaired ware, considering the golden repairs to be enhancements rather than flaws. Some pieces became more prized after their repair than before — a radical concept that inverts Western notions of damage and value.
Philosophy
Kintsugi embodies several interconnected Japanese philosophical concepts:
- Wabi-sabi: Finding beauty in imperfection, impermanence, and incompleteness
- Mushin: Acceptance of change and fate without resistance
- Mono no aware: A bittersweet awareness of the transience of things
- Mottainai: A sense of regret over waste — the belief that discarding a fixable object is a loss
In a modern context, kintsugi has become a powerful metaphor for personal resilience — the idea that we can be broken and repaired, emerging stronger and more beautiful for having experienced the fracture. This resonance has fueled a global interest in kintsugi that extends far beyond ceramic repair.
Traditional vs. Modern Kintsugi Kits
There are two fundamentally different approaches to kintsugi, and the distinction matters enormously.
Traditional Kintsugi (Urushi Lacquer)
Traditional kintsugi uses urushi (漆), natural lacquer derived from the sap of the urushi tree (Toxicodendron vernicifluum). Urushi has been used in Japan for over 9,000 years — it’s one of the strongest natural adhesives known, and when cured, it creates a surface that’s resistant to water, alcohol, mild acids, and heat up to 300 degrees Celsius (572 degrees Fahrenheit).
The traditional process involves:
- Cleaning and preparing the broken pieces
- Applying urushi lacquer to the break edges as adhesive
- Joining the pieces and clamping them until the lacquer cures
- Filling gaps with a mixture of urushi and tonoko (clay powder) or jinoko (fine wood powder)
- Sanding and smoothing the filled seams
- Applying a final layer of urushi lacquer
- Dusting with gold powder (kin-pun) while the lacquer is still tacky
- Curing the repair in a humidity-controlled environment (urushi cures through moisture absorption, not drying)
The entire process takes 3-4 weeks minimum, with each layer requiring several days to cure in a humid environment called a muro (lacquer curing box). The result is a food-safe, incredibly durable repair with genuine gold accenting.
Important safety note: Raw urushi causes severe contact dermatitis in most people — similar to poison ivy but often more intense. Protective gloves and careful handling are essential. Once cured, urushi is completely inert and safe.
Modern Kintsugi (Epoxy-Based)
Modern kintsugi kits use food-safe epoxy resin instead of urushi lacquer. The epoxy is mixed with gold-colored mica powder or metallic paint to simulate the gold-accented appearance of traditional kintsugi. The result looks similar but uses fundamentally different materials and techniques.
Modern kits offer significant advantages for beginners:
- No urushi allergic reaction risk
- Much faster completion (hours instead of weeks)
- Simpler technique with fewer steps
- Lower cost (no real gold required)
- No special curing environment needed
The trade-off is that modern kits don’t produce authentic kintsugi. The epoxy-gold mixture doesn’t have the depth and luminosity of real gold on urushi, and the repair isn’t as durable over decades. For decorative pieces, display items, and learning the aesthetic principles of kintsugi, modern kits are excellent. For functional ceramics and authentic practice, traditional urushi kits are the way to go.
Our Recommended Kintsugi Kits
Best for Beginners: Epoxy-Based Kintsugi Kit
Approx. ~$30–40 | Rating: 4.4/5 | Best For: First-time kintsugi, decorative repairs, learning the aesthetic
A quality beginner epoxy kintsugi kit includes food-safe epoxy, gold mica powder, mixing tools, sandpaper, brushes, and instructions. The repair process takes 2-4 hours of active work plus overnight curing time.
We recommend kits that include food-safe epoxy if you plan to repair functional tableware. Many craft-oriented kits use standard epoxy that isn’t rated for food contact — fine for decorative pieces, but not for a mug you drink from daily.
The gold powder in these kits is typically mica-based rather than real gold. The visual effect is convincing at normal viewing distance, though it lacks the warm depth of genuine gold powder under close examination.
What’s typically included:
- Food-safe two-part epoxy
- Gold mica powder
- Mixing cups and stirring sticks
- Fine-grit sandpaper
- Small brush for powder application
- Detailed instruction booklet
Best for Authentic Practice: Traditional Urushi Kintsugi Kit
Approx. ~$80–150 | Rating: 4.6/5 | Best For: Authentic kintsugi with real urushi and gold
Traditional kintsugi kits contain genuine urushi lacquer, tonoko powder for filling, real gold powder (usually very fine keshi-fun grade), and the tools needed for an authentic repair. These kits produce genuine kintsugi — the real thing, using the same materials and techniques that artisans have used for centuries.
Working with traditional urushi requires patience (the process takes weeks), safety precautions (urushi causes allergic reactions in most people), and a curing environment with controlled humidity. But the result is incomparably beautiful and genuinely permanent. Traditional kintsugi repairs are food-safe once fully cured, incredibly durable, and become more beautiful with age as the gold develops a warm patina.
What’s typically included:
- Raw urushi lacquer (ki-urushi and suki-urushi)
- Tonoko filling powder
- Jinoko fine powder
- Real gold powder (keshi-fun or maru-fun grade)
- Makie-fude (fine lacquer brush)
- Mixing palette
- Sandpaper (multiple grits)
- Protective gloves
- Detailed instruction manual
Safety note: Always wear nitrile gloves when handling raw urushi. Avoid skin contact. Work in a well-ventilated area. If you develop a rash, discontinue use and consult a physician.
Step-by-Step: Your First Kintsugi Repair (Epoxy Method)
What You’ll Need
- Kintsugi kit (epoxy, gold powder, tools)
- A broken ceramic piece (start with a clean break into 2-3 pieces)
- Newspaper or plastic sheeting to protect your workspace
- Rubbing alcohol for cleaning
Step 1: Clean the Break Edges
Wash the broken pieces thoroughly with warm water and dish soap. Dry completely. Wipe the break edges with rubbing alcohol to remove any oils or residue. The epoxy needs clean surfaces for a strong bond.
Step 2: Dry Fit the Pieces
Before applying any adhesive, fit the broken pieces together to understand how they reassemble. For a simple two-piece break, this is straightforward. For multiple fragments, figure out the reassembly order — typically start from the largest piece and add fragments one at a time.
Step 3: Mix the Epoxy
Follow your kit’s instructions for mixing the two-part epoxy. Most food-safe epoxies require equal parts resin and hardener, mixed thoroughly for 2-3 minutes. Mix only as much as you can use within the epoxy’s working time (usually 30-60 minutes).
Step 4: Apply Epoxy to Break Edges
Using a toothpick or small brush, apply a thin, even layer of mixed epoxy to both sides of the break edge. For tips on choosing the right adhesive for craft projects in general, our best Japanese glue guide covers Tombow, Kokuyo, and specialty options. You want enough to create a bond, but not so much that it squeezes out excessively when the pieces are joined.
Step 5: Join the Pieces
Press the pieces together firmly, aligning the break edges as precisely as possible. Use painter’s tape or rubber bands to hold the pieces in position while the epoxy sets. Wipe away any excess epoxy that squeezes out of the seam — it’s easier to remove now than after curing.
Step 6: Let It Cure
Allow the epoxy to cure for the time specified by your kit (typically 4-24 hours). Don’t rush this step. The repair needs to be completely rigid before you proceed.
Step 7: Sand the Seam
Once cured, gently sand the repair seam with fine-grit sandpaper (400-600 grit) to smooth any rough spots or excess epoxy. Sand lightly — you just want a smooth surface, not to grind down the repair.
Step 8: Apply Gold
Mix a small amount of fresh epoxy and brush it thinly along the repair seam. While it’s still tacky, use a fine brush to apply gold powder along the seam. The gold adheres to the tacky epoxy, creating the characteristic golden vein. Tap off excess powder.
Step 9: Final Cure
Allow the gold-dusted seam to cure fully (another 24 hours). Once cured, gently buff with a soft cloth to bring out the gold’s luster. Your kintsugi repair is complete.
Choosing a Piece to Repair
Ideal Pieces for Beginners
- A mug or cup with a clean break into 2-3 pieces
- A small plate or saucer with a single crack
- A decorative bowl that broke into large fragments
Pieces to Avoid Initially
- Items shattered into many small fragments (too complex for a first project)
- Very thin porcelain (difficult to handle and align)
- Items with missing pieces (requires gap-filling, which adds complexity)
- Valuable antiques (practice on expendable pieces first)
A Note on Intentional Breaking
Some kintsugi kits come with a ceramic piece intended to be deliberately broken and repaired. While this provides a guaranteed practice piece, it somewhat contradicts the philosophy of kintsugi — the art is about embracing damage that has already occurred, not creating damage artificially. We prefer to practice on genuinely broken pieces. Ask friends and family to save their broken ceramics for you — you’ll be surprised how quickly you accumulate practice material. If you’re looking for beautiful Japanese pottery to use (and potentially repair someday), see our Japanese tea sets guide for handcrafted ceramic chawan and yunomi.
Kintsugi as a Mindful Practice
Beyond the technical craft, kintsugi offers a meditative, contemplative experience. The slow, careful process of cleaning, fitting, bonding, and gilding requires patience and presence. Each step demands attention — rushing produces poor results. This enforced mindfulness is, for many practitioners, as valuable as the finished repair.
The philosophical dimensions of kintsugi also invite reflection. As you trace a golden seam with your brush, you’re simultaneously acknowledging the break and transforming it into something beautiful. This act of repair-as-enhancement mirrors a healthy approach to personal setbacks — not denying or hiding them, but integrating them into a stronger, more interesting whole.
Many people who start kintsugi as a craft find that it becomes a meaningful personal practice. There’s something genuinely profound about holding a repaired bowl, running your finger along the golden seam, and recognizing that it’s more beautiful — and more yours — because it was broken.
Frequently Asked Questions
Is kintsugi food-safe?
Traditional urushi kintsugi is completely food-safe once the lacquer is fully cured (typically 4-6 weeks of curing). Urushi has been used for food vessels in Japan for thousands of years. Modern epoxy kintsugi is food-safe only if the kit specifically uses food-safe epoxy — always check the product specifications. Many craft epoxies are not rated for food contact.
How much does real gold for kintsugi cost?
Real gold powder for kintsugi comes in different grades. The finest grade (maru-fun) can cost $50-100 or more for a small container, but a little goes a long way — you need only a tiny amount to gild a repair seam. Coarser grades (keshi-fun) are less expensive. Traditional kintsugi kits typically include enough gold powder for several repairs.
Can I do kintsugi on glass?
Kintsugi techniques can be applied to glass, though the aesthetic works best on opaque ceramics where the golden seam contrasts with the clay body. Glass-to-glass bonding requires different adhesives than ceramic bonding — UV-curing glass adhesive is generally recommended. The gold powder application technique remains the same.
How durable is a kintsugi repair?
Traditional urushi kintsugi repairs are extremely durable — urushi is one of the strongest natural adhesives known and is resistant to water, heat, and mild chemicals. Properly done, a traditional repair can last centuries (museum pieces prove this). Modern epoxy repairs are durable enough for regular use but may degrade over decades. Neither type of repair should be microwaved.
Can children do kintsugi?
Modern epoxy-based kintsugi can be adapted for older children (10+) with adult supervision. The process teaches patience, fine motor skills, and a powerful lesson about embracing imperfection. Traditional urushi kintsugi is not suitable for children due to the severe allergic reaction risk from raw urushi lacquer.
Where can I learn kintsugi from a master?
In Japan, kintsugi workshops are offered in many cities — particularly Tokyo, Kyoto, and Kanazawa. Outside Japan, search for Japanese cultural centers, pottery studios, and craft schools that offer kintsugi workshops. Online classes are also available through platforms like Skillshare and Udemy, though the hands-on nature of the craft benefits from in-person instruction.
Final Thoughts
Kintsugi is one of Japan’s most beautiful cultural gifts to the world — a practice that transforms damage into beauty, waste into art, and broken things into objects more precious than their unbroken originals. Whether you approach it as a craft technique, a mindful practice, or a personal philosophy, kintsugi has something profound to offer.
For beginners, we recommend starting with a modern epoxy-based kit and a genuinely broken piece of pottery. Learn the basic technique, experience the satisfaction of transforming a broken object into something golden, and decide whether you want to pursue traditional urushi methods for a deeper, more authentic practice.
The golden seams of kintsugi remind us that nothing is truly broken beyond repair — and that our fractures, when acknowledged and treated with care, can become our most beautiful features. For more hands-on Japanese crafting projects, explore our best Japanese craft supplies guide. You might also enjoy our complete guide to Japanese crafts, which covers a wide range of traditional and modern creative practices from Japan.
Check Beginner Kintsugi Kit on Amazon | Check Traditional Urushi Kit on Amazon